Hey Friends!
I wanted to jump on here today and give you a life update. I know I've been awfully sporadic with Craving Fresh over the past few years, but I've had a couple of people in the past month tell me how special this space is, and that gave me the nudge I needed to get back on here. (Thank you Anna and Ruthie!)
Eating
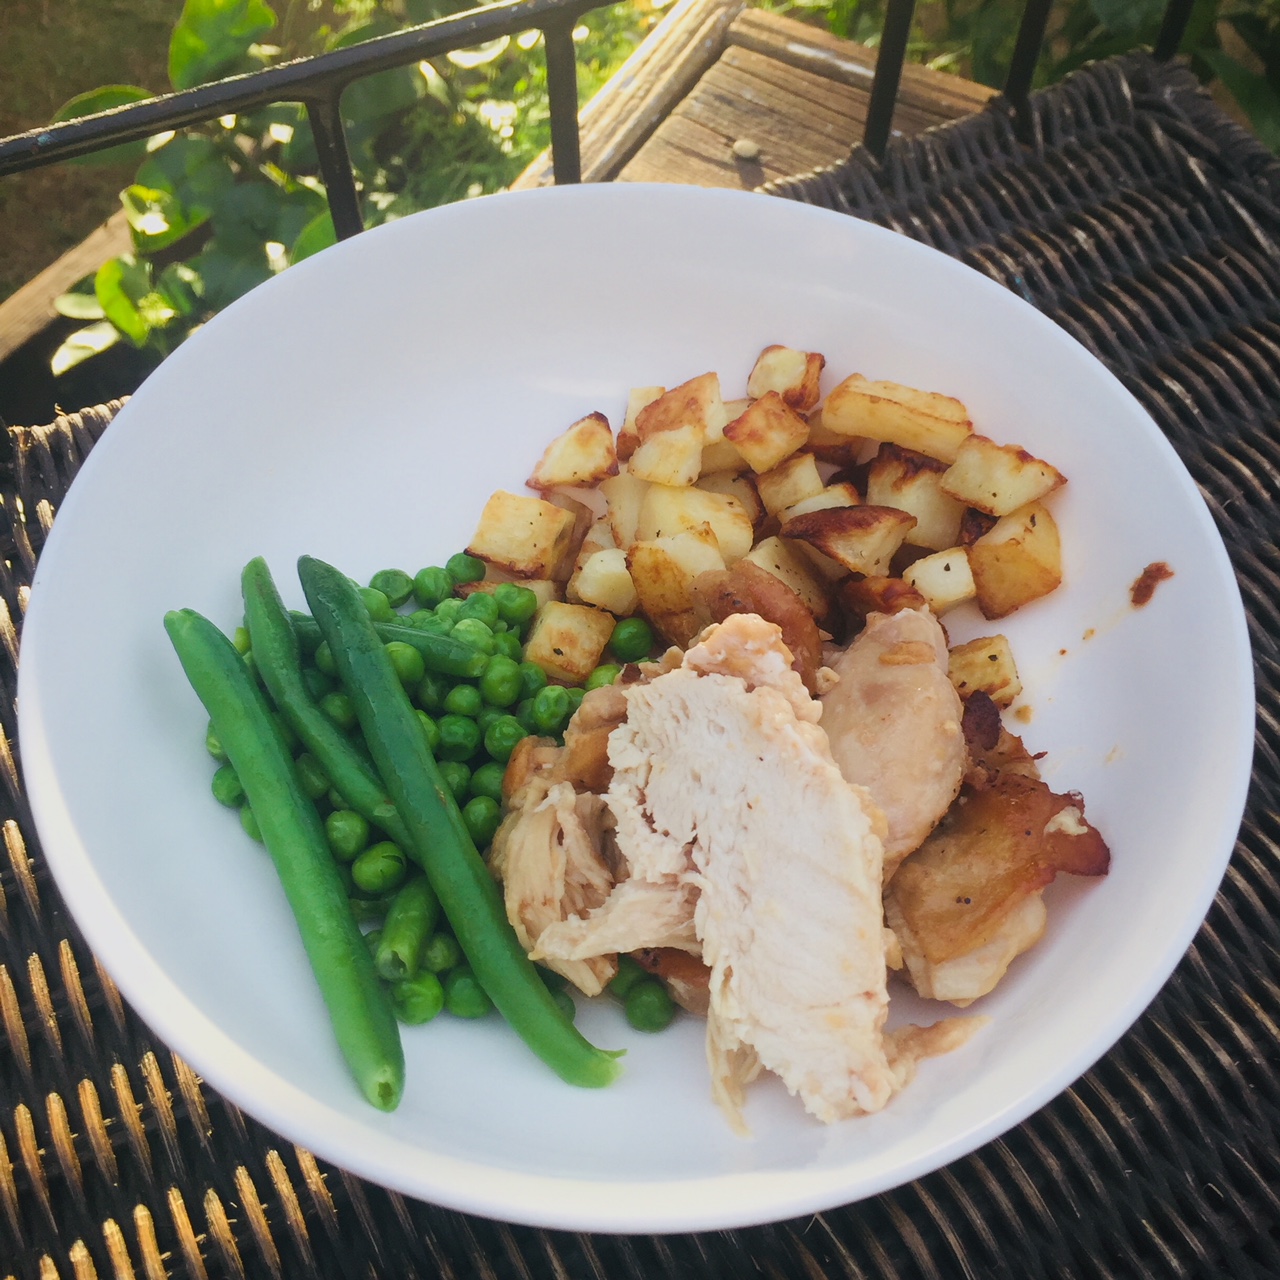
The last time I posted, I was letting you know all about the carnivore diet.
 |
| Living it up at Festival One |
Well, I followed that strictly for five months and lost about 9kg all up, but then went to Festival One with my girls at the end of January and fell off the meat train.
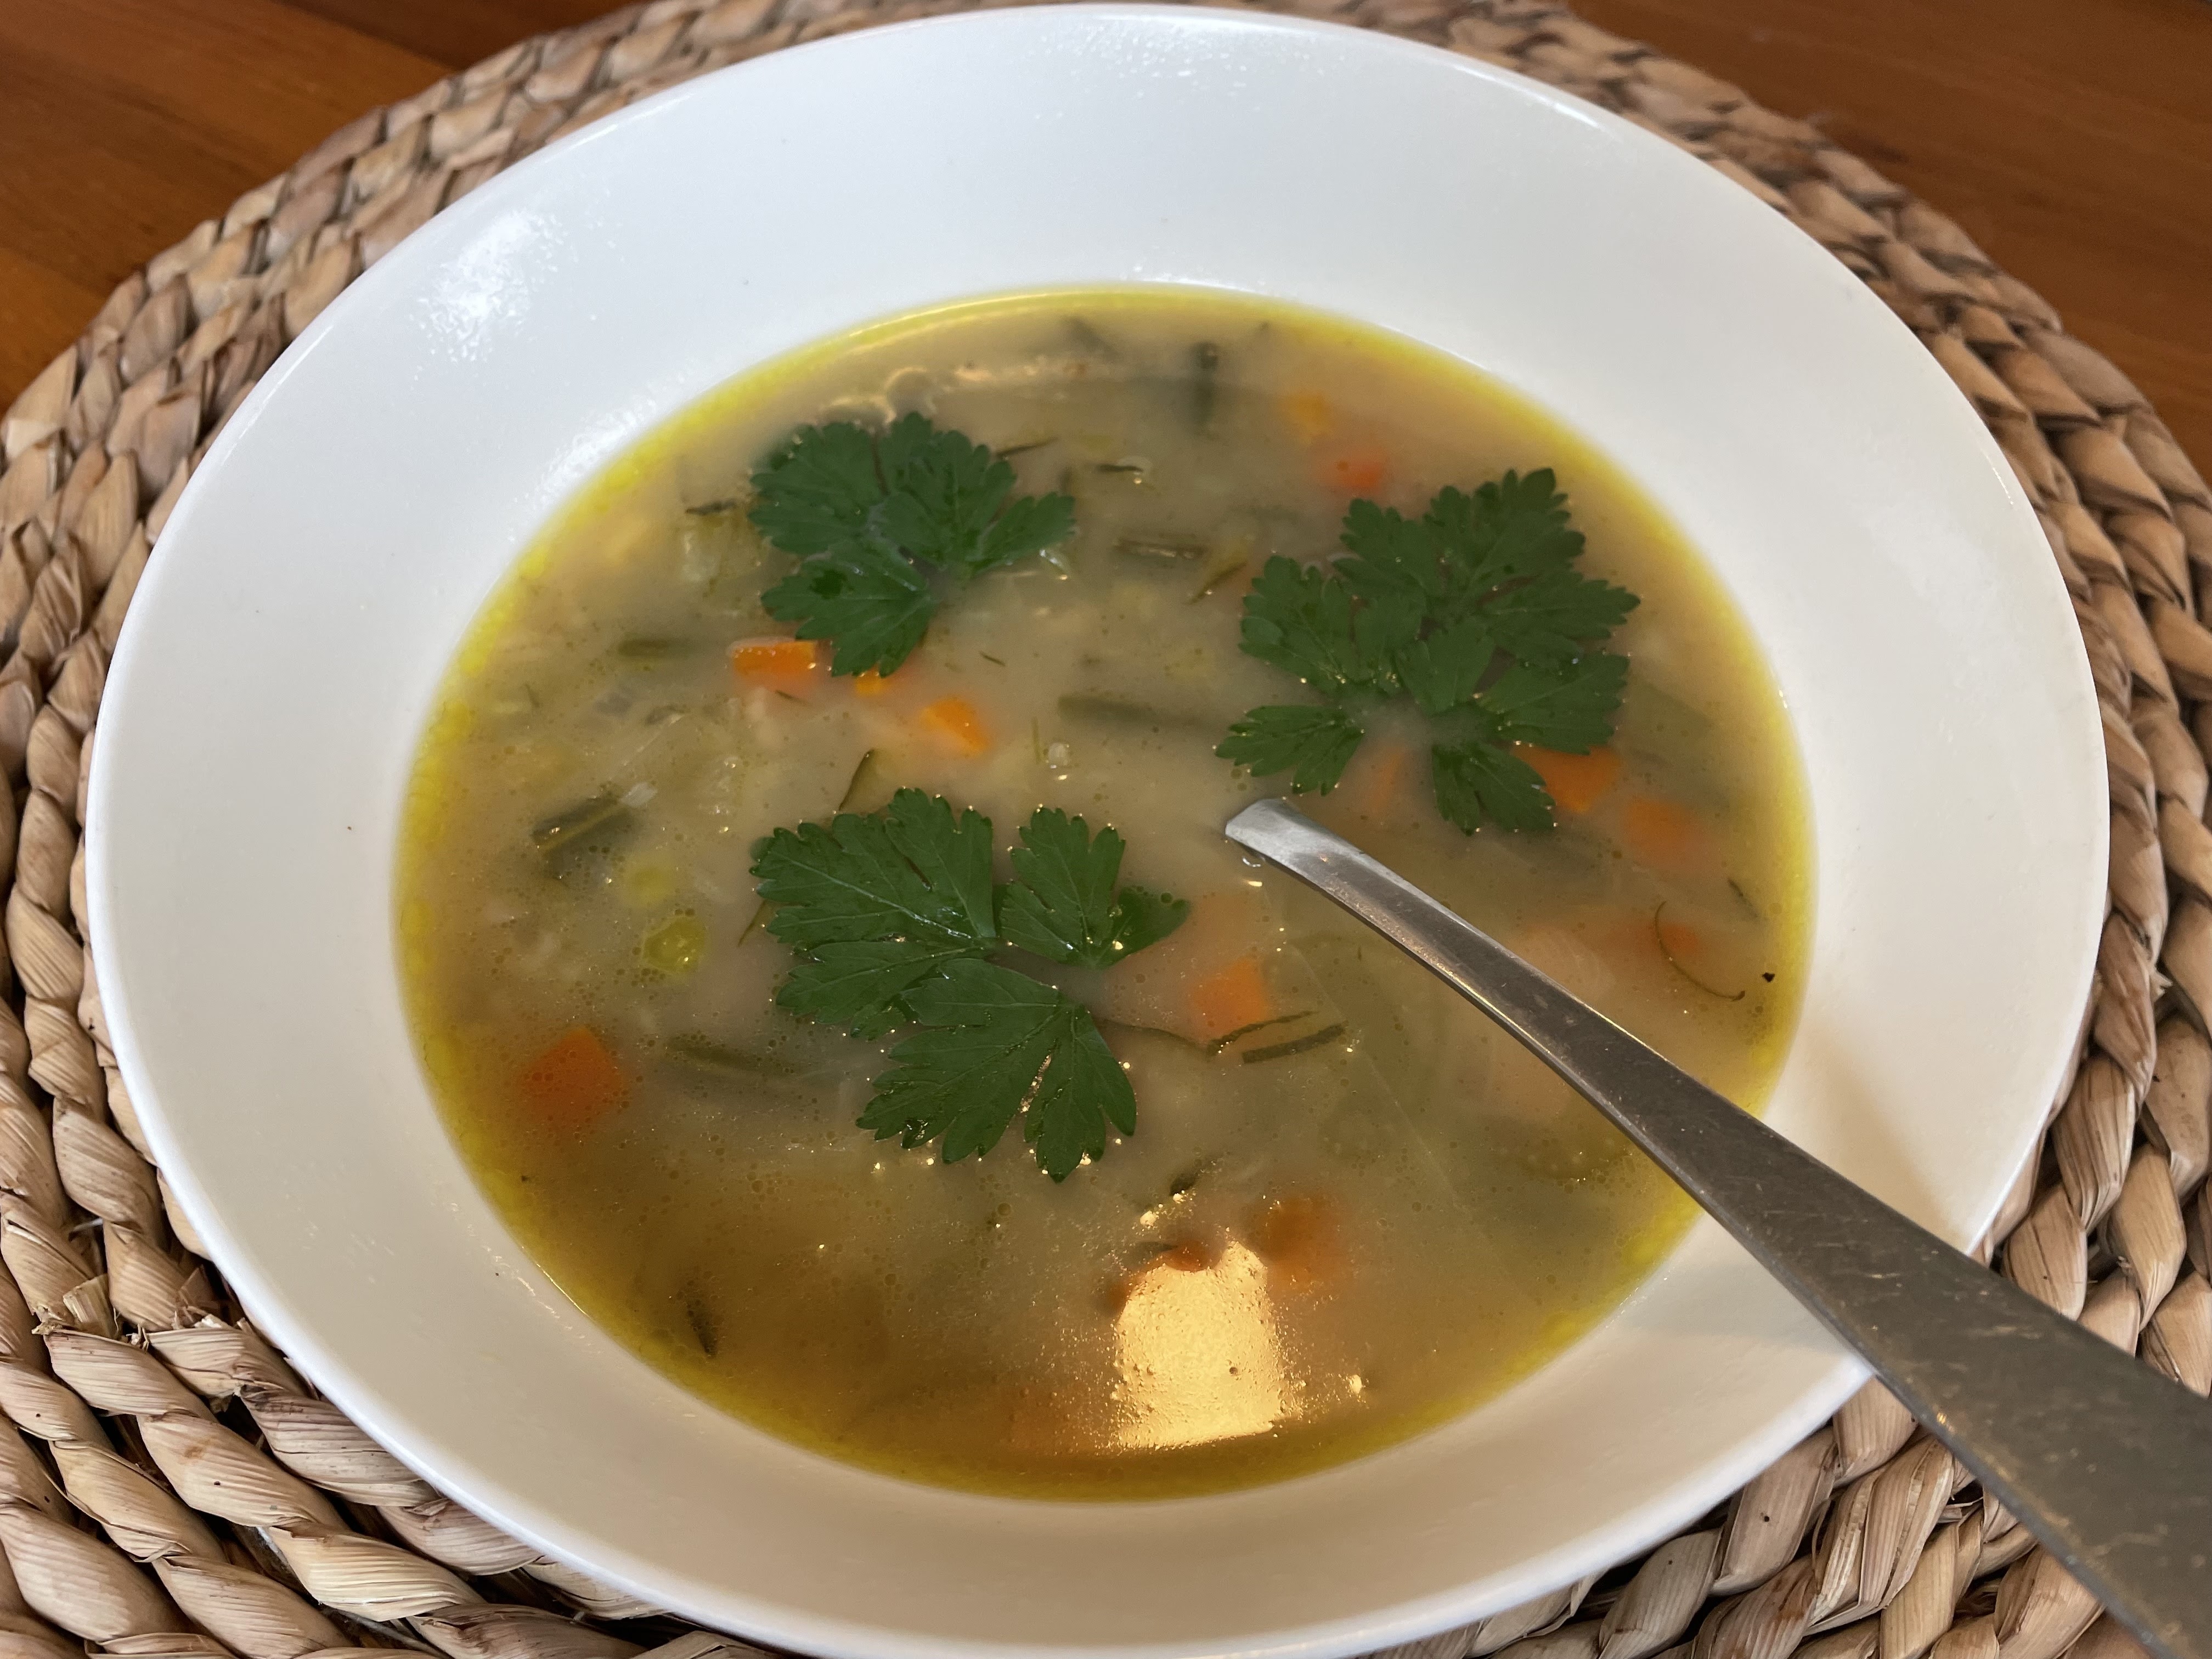
Since then, I've been eating a regular, nothing-fancy diet. My focus over the past few months has been on trying to keep the grocery budget down rather than trying to keep my waistline trim. However, I've noticed my weight start to creep up again in the intervening months and just this week was re-inspired to start eating a Trim Healthy Mama diet again.
What inspired me was listening to Jamerrill Stewart's recent podcast with the THM sisters, and also watching several Jamerrill videos like this one, where she cooked lots of yummy looking THM foods for herself.
Writing
Now, the reason I haven't been blogging as much in recent years is because my writing focus has been of a different nature.
I've been working on a couple of young adult novels.
 |
| Reading my book, Ever Since that Day, at Piha |
The first one, Ever Since that Day, published in December 2023, and since then I've been busy promoting it as well as working on my next (as yet unnamed) novel. Both of these books fall under the Christian contemporary New Zealand young adult romance categories.
Quite the niche!
 |
| Being interviewed about Ever Since that Day on Life FM |
I was blessed to be interviewed about Ever Since that Day on both Life FM and Radio Rhema earlier this year, which helped to get the word out, but I would love for my book to reach even more readers. Please do spread the word if you're able.
Homeschooling
Our homeschool life officially came to an end this year, when my youngest two children joined their older sister at school. As much as I loved homeschooling my children and am grateful I got to spend all that special time with them, I'm also enjoying the new era we're in where I'm not responsible for every aspect of their learning.
It's quite liberating.
I do still get to see the children during school hours, as I'm the librarian at the school they're attending. That has helped with the transition from homeschool to school immensely – for me and the kids.
They're all thriving at school and I know it's the right place for them to be.
Cancer
 |
| Robed up for my most recent CT scan |
After four years of clear CT scans, I think I'm starting to believe I'm cancer free.
I saw my surgeon again today to get the results from my most recent CT – which was clear. He told me that I'll have one more scan in a year's time, and if that's also clear, he'll officially discharge me back to my GP.
It's kind of surreal.
My life has changed in monumental ways since getting diagnosed with Stage 3C melanoma back in 2020. I don't think you could see most of those changes from the outside, but my whole worldview has shifted.
I prioritise my relationship with God so much more than I did before, especially by spending more time in his Word. He really brought me through that difficult time and made it a joyous one with his loving, peace-giving presence. I wouldn't want to go through cancer again, but I'm glad I did go through it.
I'm grateful for every day of life because I so easily could have missed out on them. I'm especially grateful to be here for my family. My youngest was only six when I got diagnosed, and now he's ten.
It's sobering to think about all the life-shaping seconds, minutes, hours and days he's had with me over these past four years that he might not have had if I hadn't survived. I hate the thought of any of my children growing up without me and am so glad they haven't had to. Now my goal is to be there for my grandchildren.
Having cancer is also what motivated me to finally publish Ever Since that Day. I thought, if I do die, my children will at least have this special piece of me – something creative I made and shared with the world.
Of course, now that I'm starting to believe I'm going to live, I'm just as motivated to keep writing because I've caught the author bug. Bringing a whole story into existence out of nothing has to be one of the most exciting and fulfilling careers ever.
Garden
 |
| Weeding the paths around my raised beds |
Yes, I'm still gardening – although the permaculture nature of my garden means it's really my garden doing all the work. Plants pop up from last year's dropped seeds, and I simply harvest them.
It's quite wonderful. (Although I do still have to weed, so don't be fooled into thinking it's total paradise.)
This year, we ate passionfruit, pumpkins, tomatoes, broccoli and parsley – none of which I planted. They just appeared.
 |
| Our first crop of Oratia apples |
We're also finally seeing the literal fruits of all my labours planting fruit trees around the property when we first moved in eight years ago. We're at the point now where there is always some kind of fruit to be picked. At the moment, it's oranges, lemons, limes and mandarins. A couple of months ago, it was feijoas, apples, passionfruit, nashis, raspberries, figs and NZ cranberries. Before that it was strawberries, plums, nectarines, boysenberries and blueberries.
I love it. The kids love it too.
Netball
In other news, I started coaching a netball team this year, and I also umpire a couple of netball games each week. Coaching netball is not something I would have signed up for before, but the Lord has been leading me into new areas and helping me to see that I do have the capacity for them. I'm enjoying the challenge of it.
Te Reo Māori
For the past two years, I've been studying te Reo Māori and absolutely loving it. I didn't have much exposure to te Reo growing up, so I feel like I'm playing catch up now. I'm finding it incredibly valuable though, especially as it's helping me to understand and appreciate my Māori brothers and sisters more.
 |
| At a te Reo Māori workshop |
This week I've also been listening to J. Ruca's book, Huia Come Home, which is giving me a greater understanding of New Zealand's bi-cultural history. I highly recommend it for anyone wanting to learn more about how we as a nation got to where we are today.
I think that's all the major news I have to update you on. Thank you for taking the time to read this far, and especially thank you if you've prayed for me at any point since finding out about my cancer. Your prayers have definitely carried me through.
God bless you!
Emma