
 |
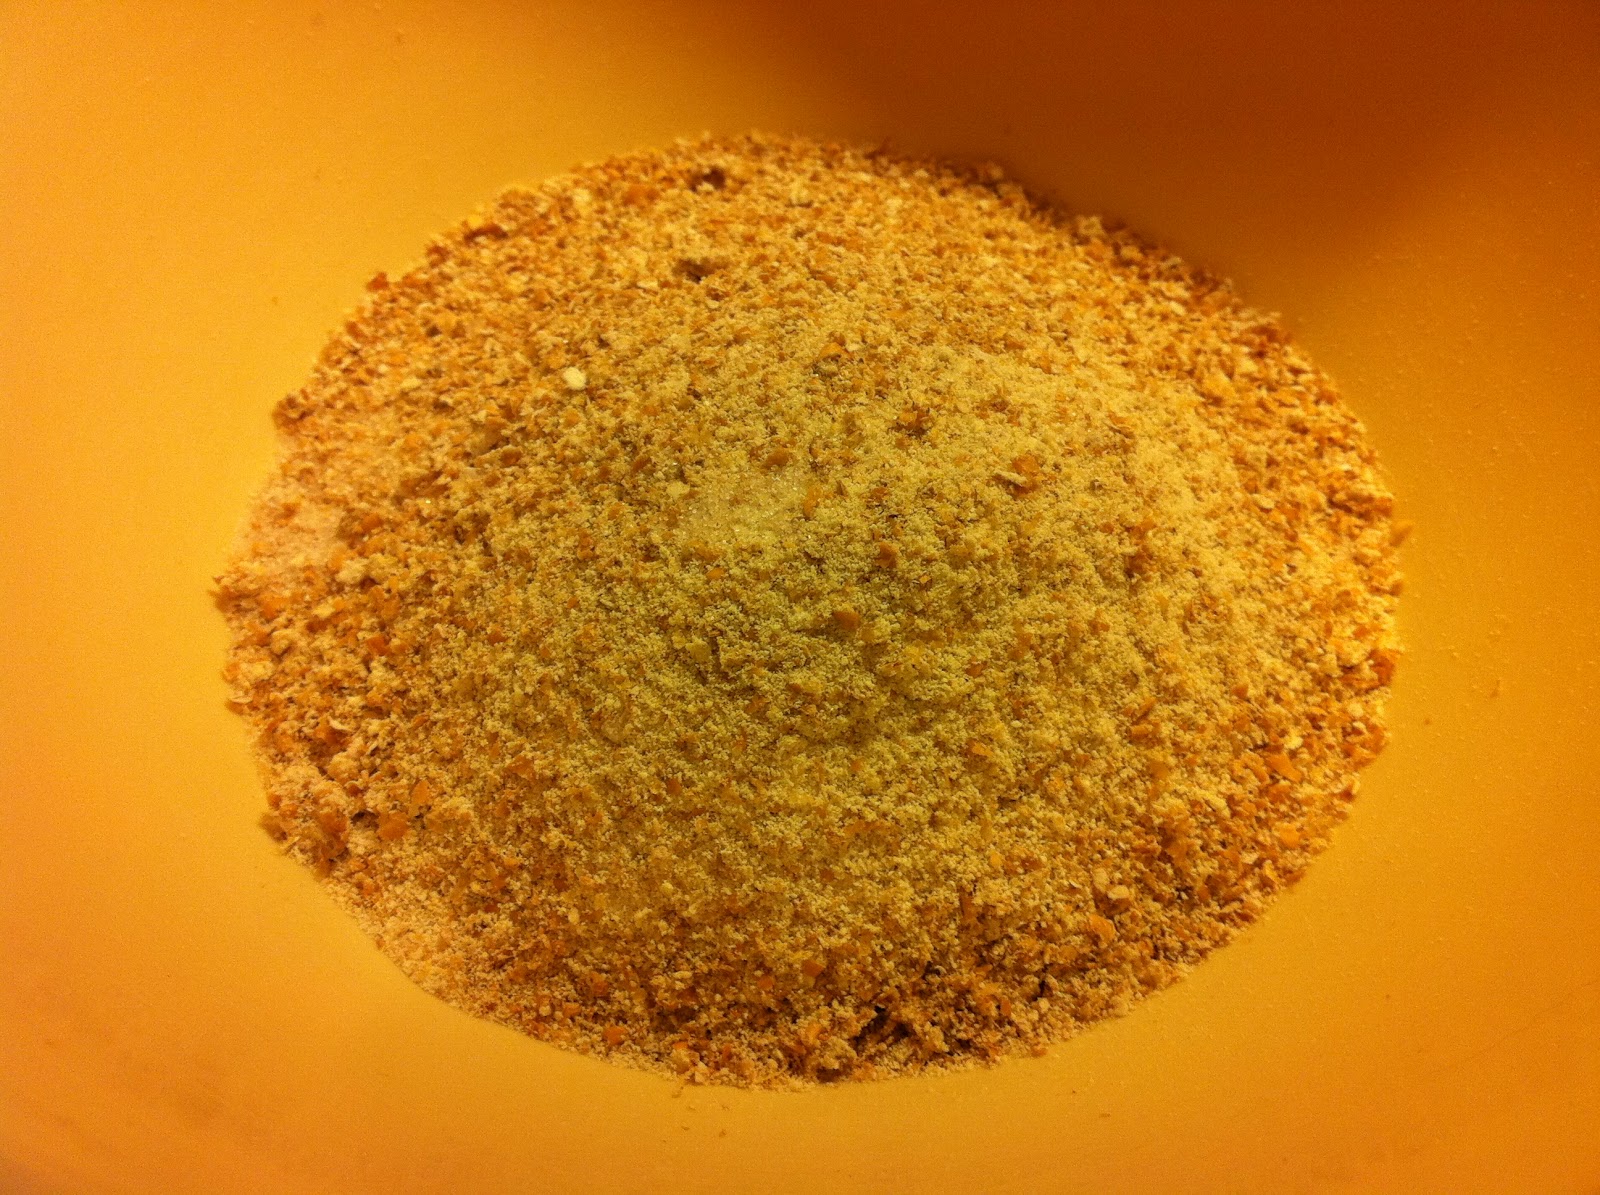
| Sprouted whole wheat flour. |
I've been dreaming of making my own sprouted flour for a few years now, but was waiting on a grain mill and food dehydrator to be able to do it.
Well, Paul took the hint and gave me a Sunbeam food dehydrator for Christmas. I also kept my eye on Trade Me for a year, until I nabbed a good deal on an old Schnitzer grain mill.

This week I decided it was time to test my equipment out and and learn how to make sprouted flour.
I want the sprouted flour for health reasons.
In the past I have soaked regular store-bought wholemeal flour before baking it to try and reduce the anti-nutrients in the flour and make it more digestible. The main problem with this method, however, is that I can't bake something instantly. Everything's got to be soaked for several hours before I can bake it, to give the flour time to predigest.
And I'm not always that organised.
By making sprouted flour, I can prepare it in advance and then store it in the freezer until I'm ready to use it. Sprouting the flour reduces anti-nutrients, makes it easier to digest and increases enzyme content, as well as vitamins C and B and carotene.
Sprouted flour can be substituted for regular whole-wheat flour in baking, so now I have the ability to bake healthy snacks on the spur of the moment.
To get started this week I bought a small bag of wheat kernels from Commonsense Organics and sprouted them by following the instructions in this Keeper of the Home tutorial.
How to make sprouted flour (with wheat/spelt/rye/barley/kamut, etc)
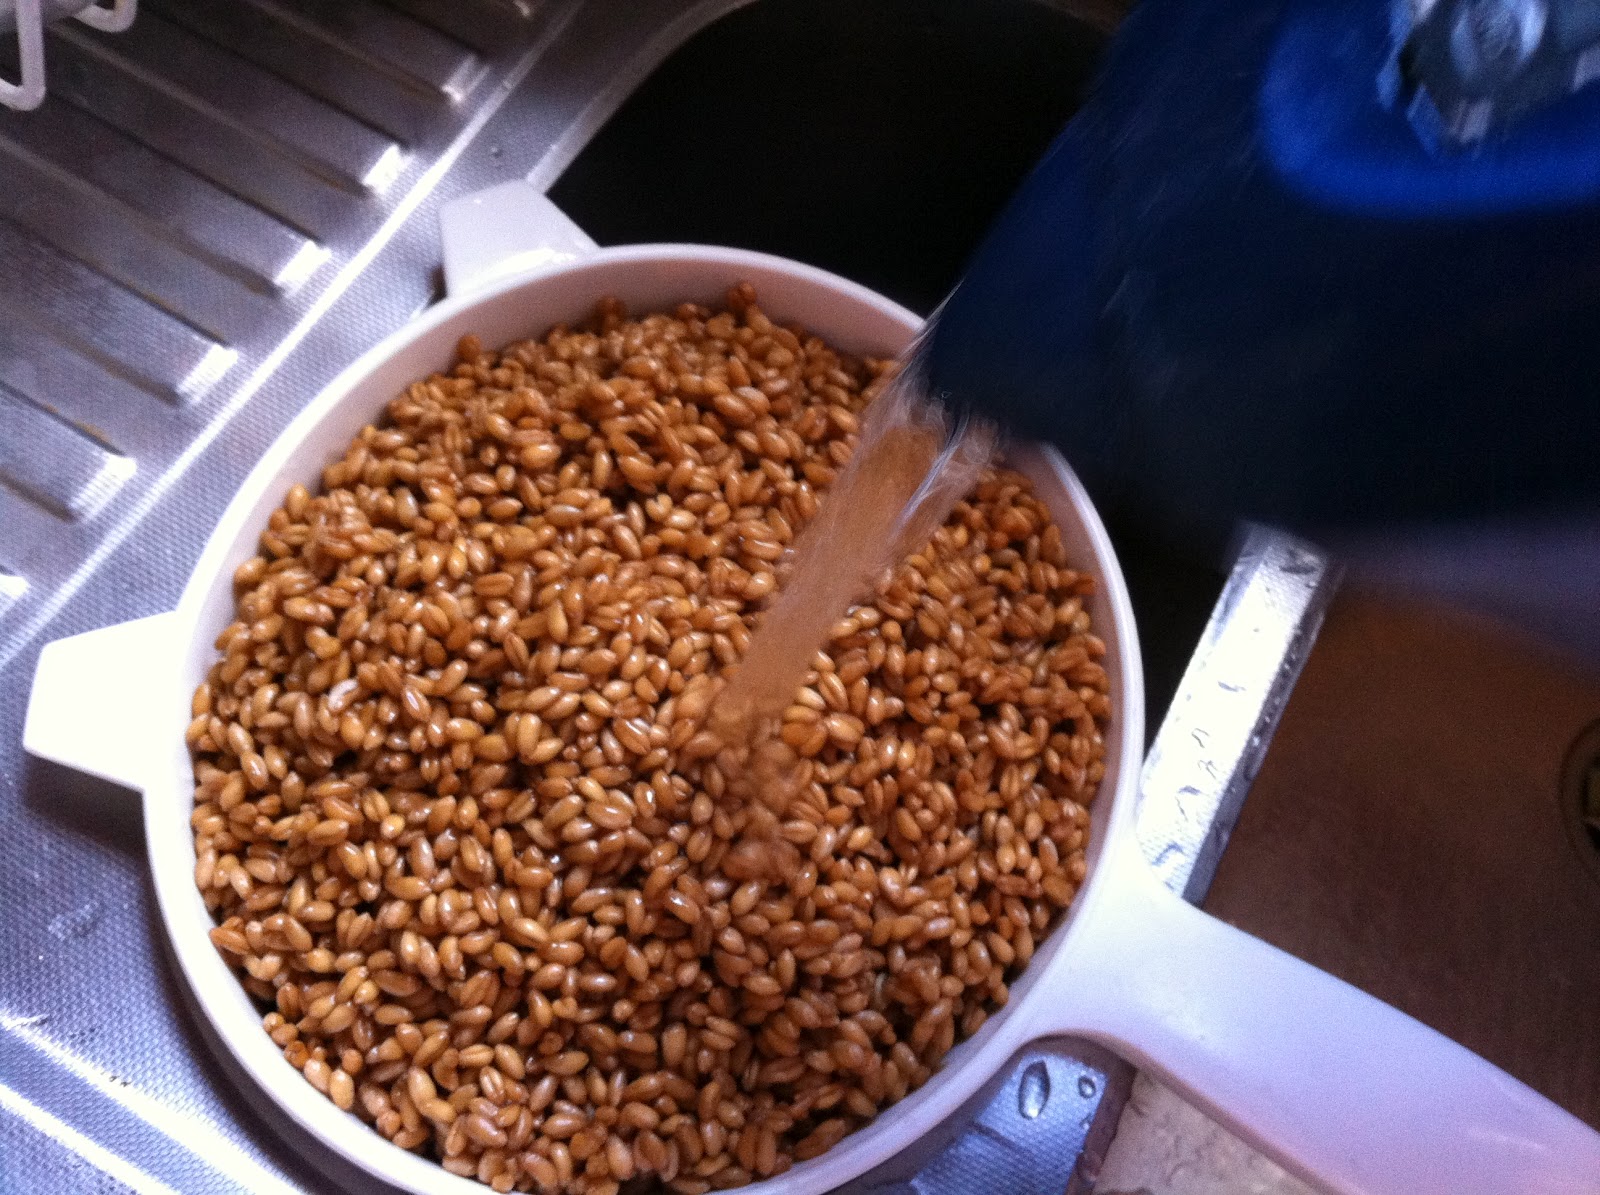
1. Soak the wheat kernels in a bowl of filtered water for 12 hours.

2. Drain through a large sieve or fine-holed colander and rinse thoroughly with filtered water.
3. Place the sieve or colander of wheat kernels above a bowl and leave to sit for 12 hours. (Loosely cover with a tea towel to keep bugs away. You still want some air flow on them so they sprout. Also make sure the wheat berries aren't sitting in water. They need to be damp, not wet or they will go mouldy.)
4. Rinse and drain the wheat kernels again and leave to sit for another 12 hours.
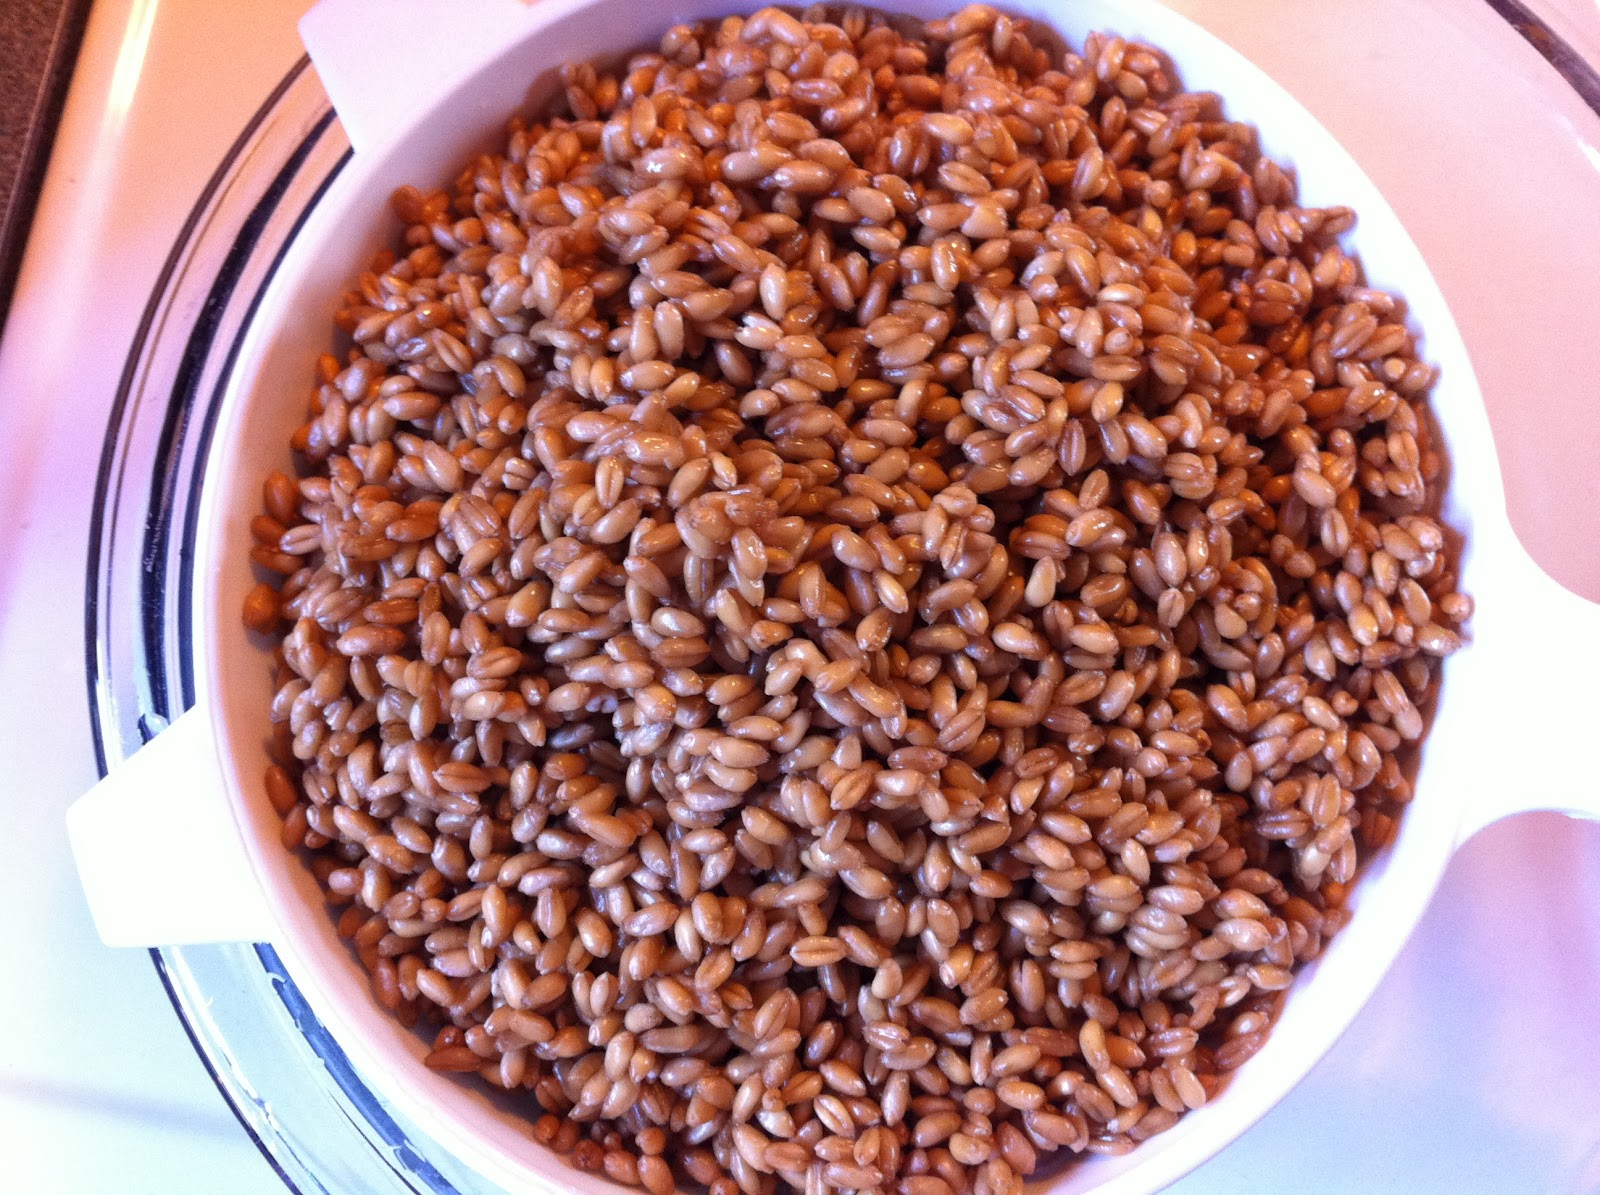
5. Keep repeating this process, rinsing and draining two to three times a day until you see little white sprouts appearing from your wheat kernels.

6. You can either use the sprouted wheat kernels then and there in a recipe, or you can dry them out, grind them into flour and then use them like you would use regular flour. To dehydrate your wheat kernels, place them in your food dehydrator for about 12 hours on the lowest setting. You don't want to superheat the kernels or they'll lose their precious enzyme content.
 |
| If the holes in your dehydrator are bigger than the wheat kernels, line each tray with baking paper. |
 |
| The sprouts on my wheat kernels made them catch together instead of sliding into the grinder so I helped them go down the hole with a chop stick. |
8. Use the flour immediately, or bag it up and freeze it to keep it fresh for when you do want to use it.

My sprouted flour was ready just in time to make a pie crust for dinner that night.
I whizzed up some leftover Spicy beef casserole from the previous night's dinner for the filling, and made the pastry with a heaped cup of sprouted wheat flour, 125g butter, a pinch of salt and water to mix.
The sprouted flour makes darker pastry than you get with white flour, but it had so much more flavour. I thoroughly enjoyed it and will make it this way again.

Next I'm keen to try making these sprouted flour chocolate chip cookies, from The Prairie Homestead.
Have you got any tried and true sprouted flour recipes you can recommend?
oh yay! Especially the 2nd hand grain mill, well done :) I am looking fwd to seeing what else you bake with the flour and how it compares to unsprouted flour. I have promised myself a grain mill if I can make my own bread for a year, have been going ok since April. Now you can buy bulk wheat, I just bought lots of bulk grains and beans, pete thinks I'm made :)
ReplyDeleteHi Emma
ReplyDeleteWow, you've made sprouting flour sound so easy, yay! :) The photos are definately helpful for me (I follow The Healthy Home Economist and LOVE all her videos - though her sprouting required a particular jar and being in Christchurch, where so many shops have closed down or moved, it's hard to get hold of the things I need).
Right, off to have a browse of the rest of your site,
Diana :)